Write your serverless code using VS Code
- Serverless — from the beginning, using Azure functions ( Azure portal ), part I, this part focuses on presenting the concept Serverless and also shows how you can build your first Azure function using the portal
- Serverless — from the beginning, using Azure functions ( Azure portal ), part II
- Serverless — from the beginning, using Azure functions ( VS Code ), part III, we are here
- Serverless — from the beginning, using Azure functions ( Azure CLI ), part IV, in progress
This article will cover
- Why VS Code as authoring env, there are more than one way to author Azure Functions, we have previously shown authoring in the Azure Portal but this way is probably one of the best
- Dependencies and set up, There are a few dependencies that we need and it looks a little bit different depending on what OS you are on
- Hello world and running your function, to get up and running we need to scaffold an Azure App, that's easily down through a command in VS Code
- Debugging locally, this is done using the built-in VS Code debugging and leveraging the files
launch.jsonandtasks.jsonthat was generated for you
Why use VS Code as authoring environment?
There are many ways to author a Serverless app. VS Code is one of the better ones and the main reason for that is the extensions that makes things like scaffolding projects/functions and debugging, a real joy.
Resources
- Azure functions overview page
- Tutorial how to author and deploy an Azure function
- Doc page for Azure function extension
Dependencies and Set up
There are two ways to install the dependencies we need, depending on if you are using either Windows or Mac OS.
For Mac run the following command:
brew tap azure/functions
$ brew install azure-functions-core-tools
for Windows:
npm install -g azure-functions-core-tools@2
Installing the VS Code extension
To make the authoring experience really nice you we need an Extension for VS Code:
Search for Azure functions in the extension search field inside of VS Code, the extension should look like this:

Your first Azure function in VS Code
To create and run an Azure function we need to do the following:
- Create a new Azure functions project
- Create a new Azure function, in our new project
- Run our function
Create an Azure Functions project
We can create an Azure functions project by using a command installed when we installed the extension. The command is called
Azure Functions: Create new Project
We can access said command by going to the menu View and select Command Palette. If you are on a Mac you can just type Command + Shift + P. Then select our command above:

There we will be asked where to place our project:

You select the folder you want the project to end up in.
Thereafter you are asked to select the language you will code in:
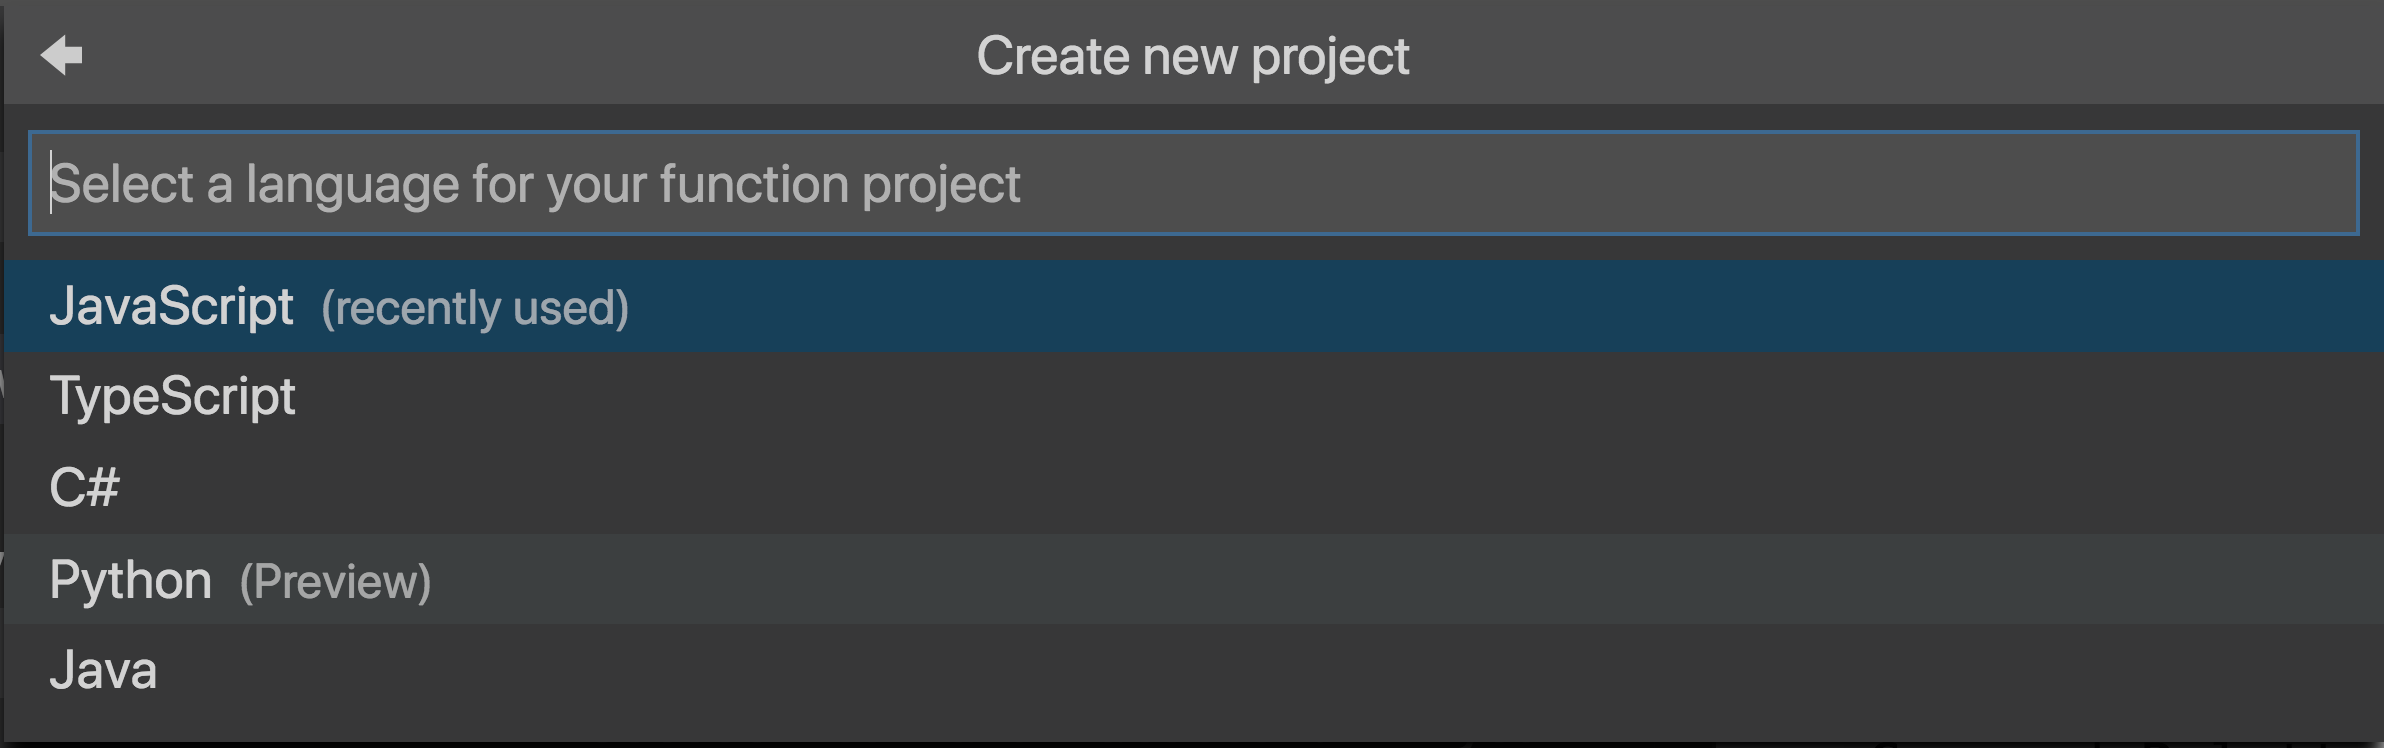 Select
 JavaScript, but do remember there are other choices that can be made here
This is followed by it querying for what trigger type the function will have, i.e what type of trigger will invoke the function:
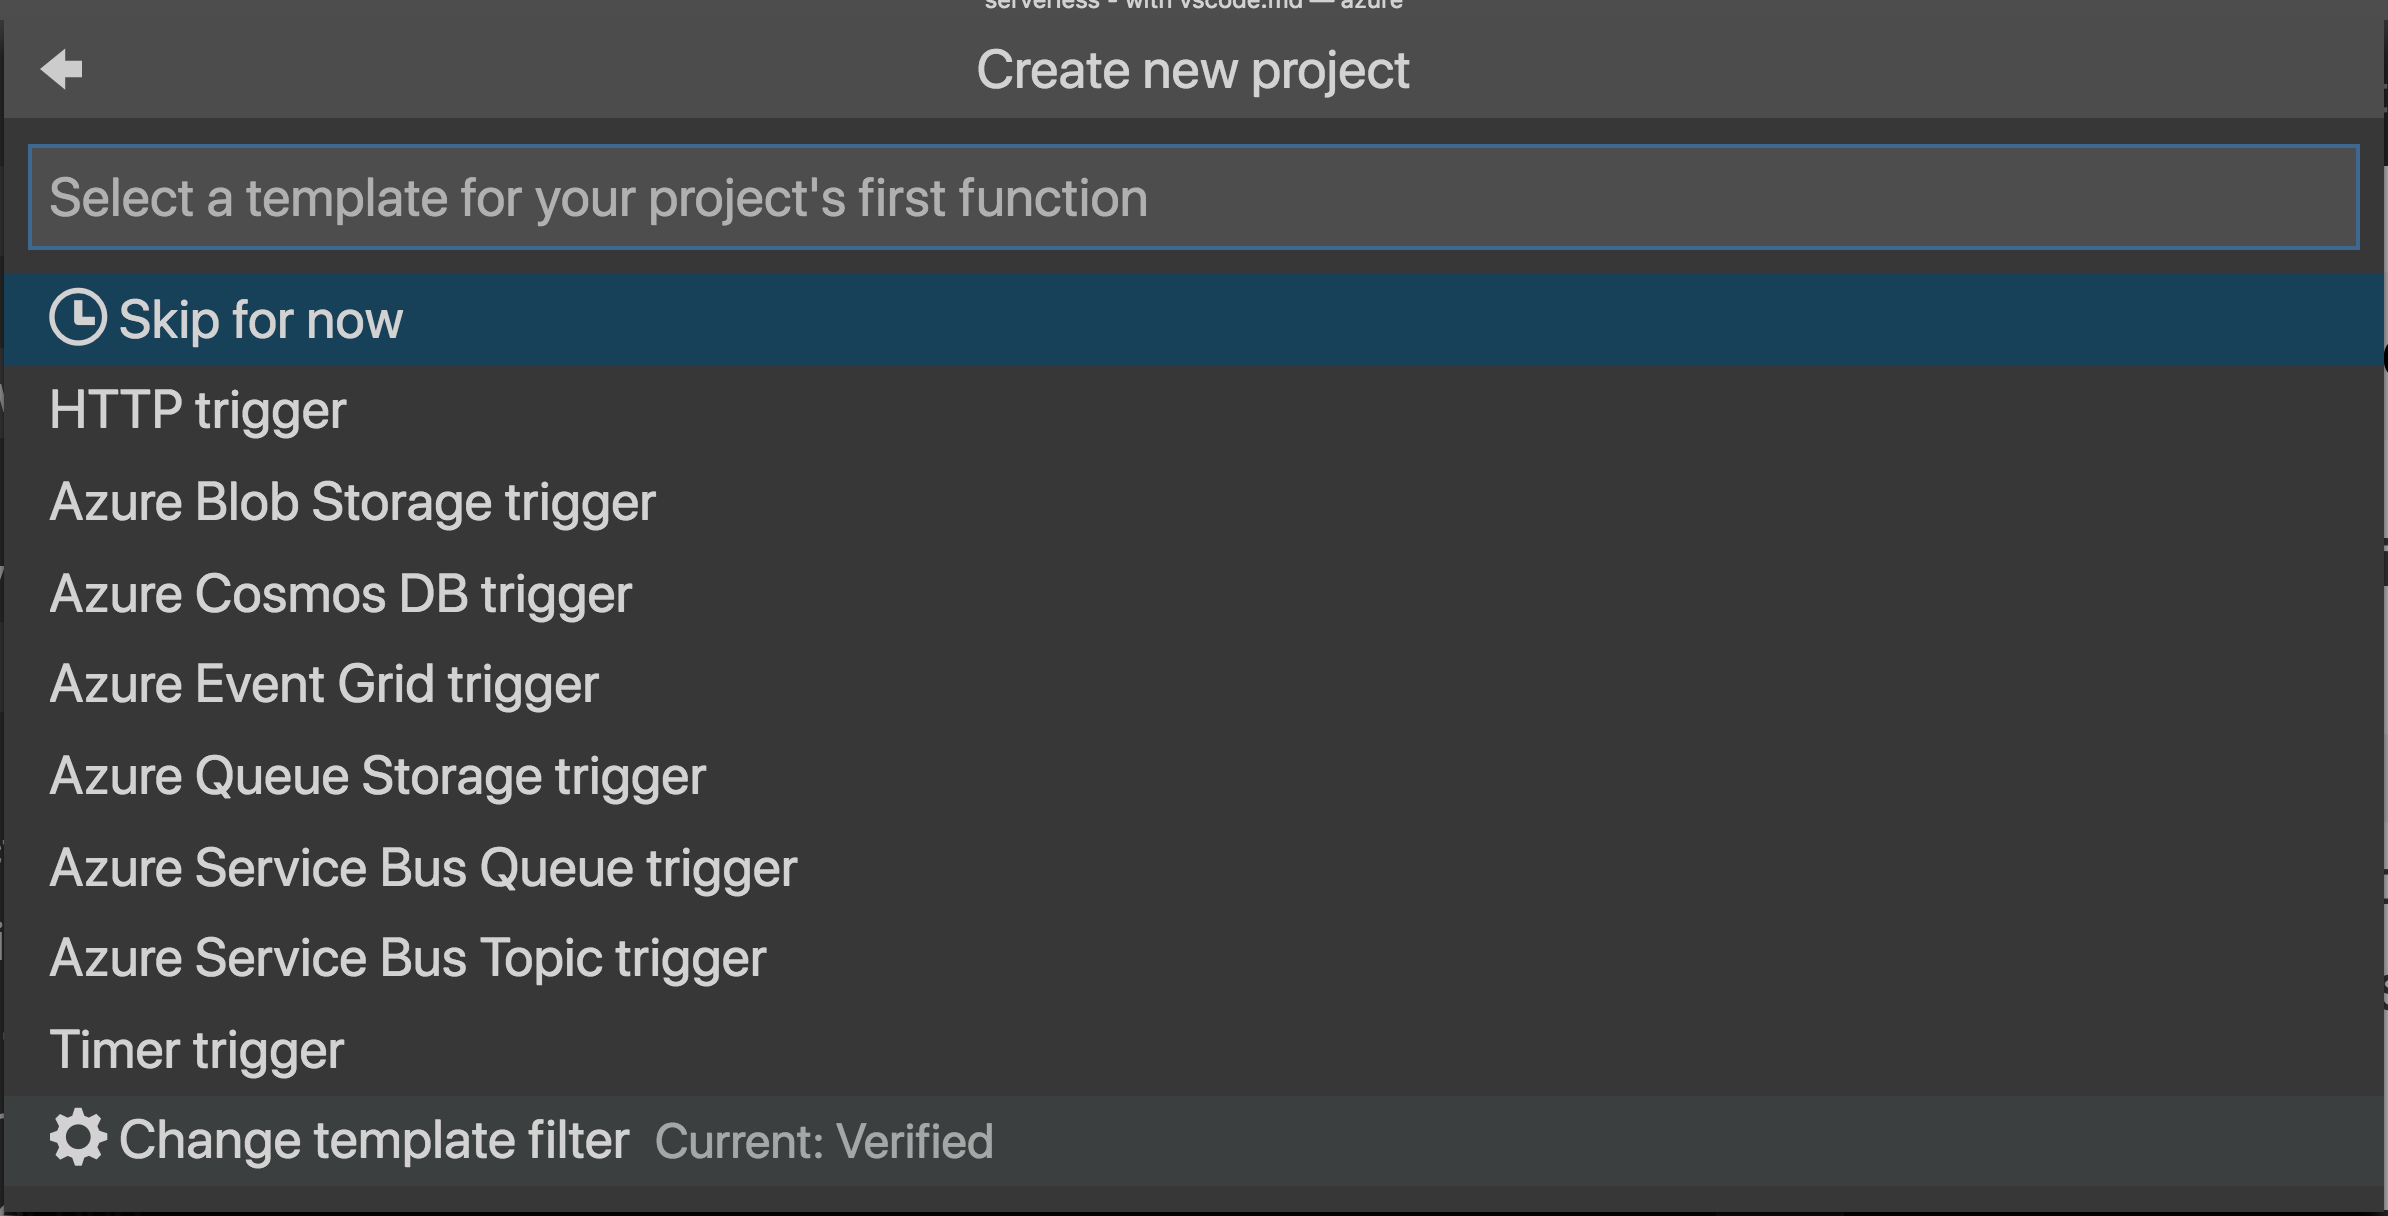
Select HTTP trigger for now but just as with language, remember that we can trigger our functions in more than one way.
The next thing is being asked for what to call the function that is created when we create the project. Yes, it does create a first function for us when we create a project, so it's a two in one.

Let's call it hello for now:
Lastly we will be asked for authorization level, i.e what credentials are needed for us to be able to allow the function.
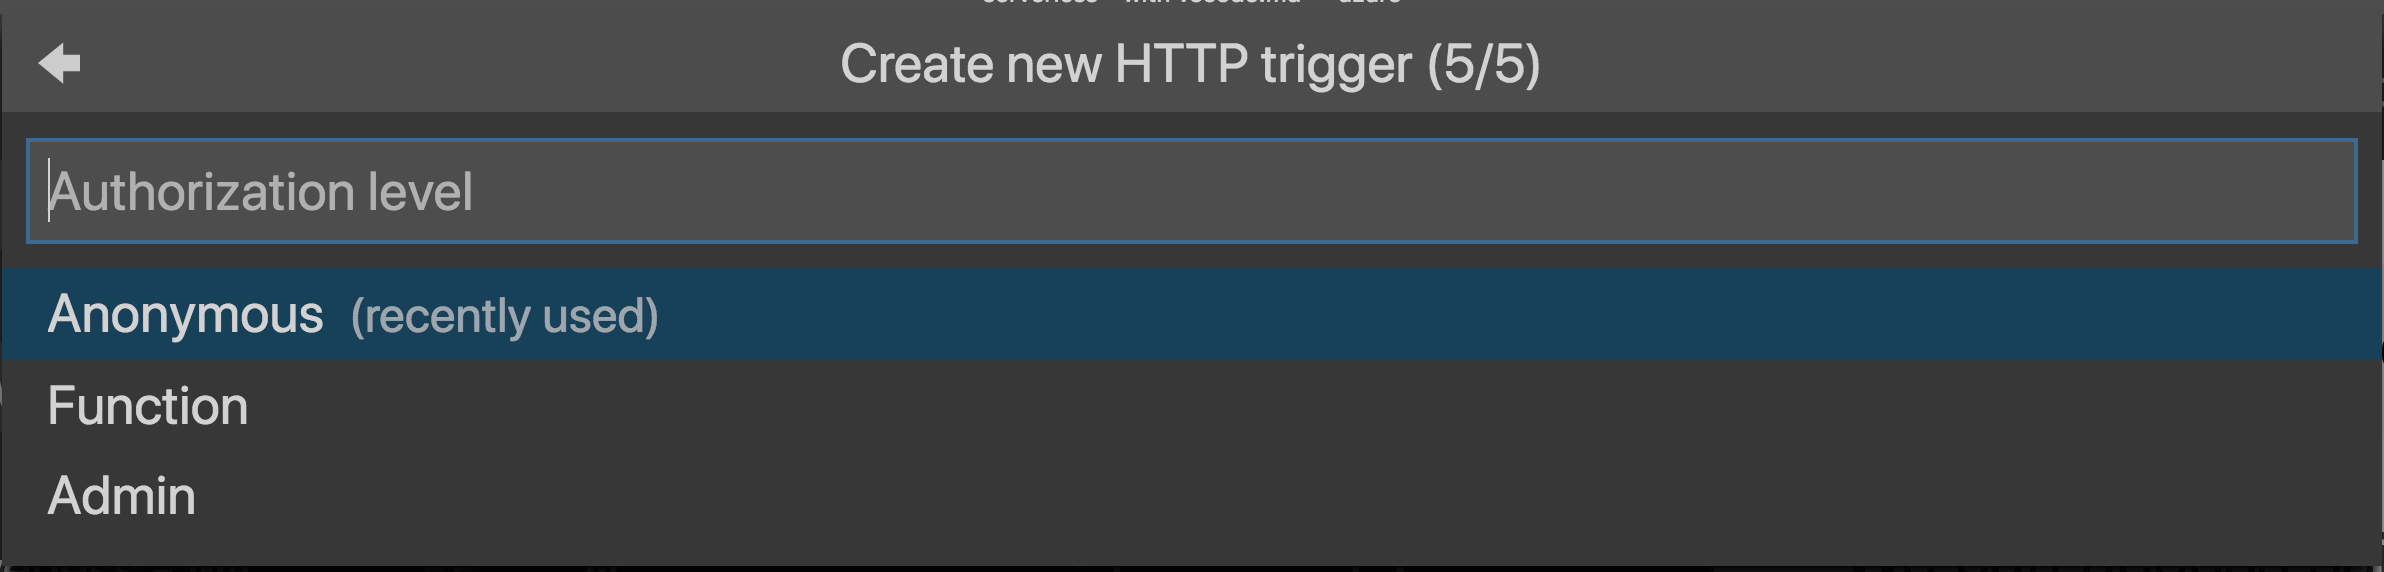
For now let's go with anonymous, we will discuss authorization in later parts of this serverless series.
Project anatomy
At this point you should have the following files created:
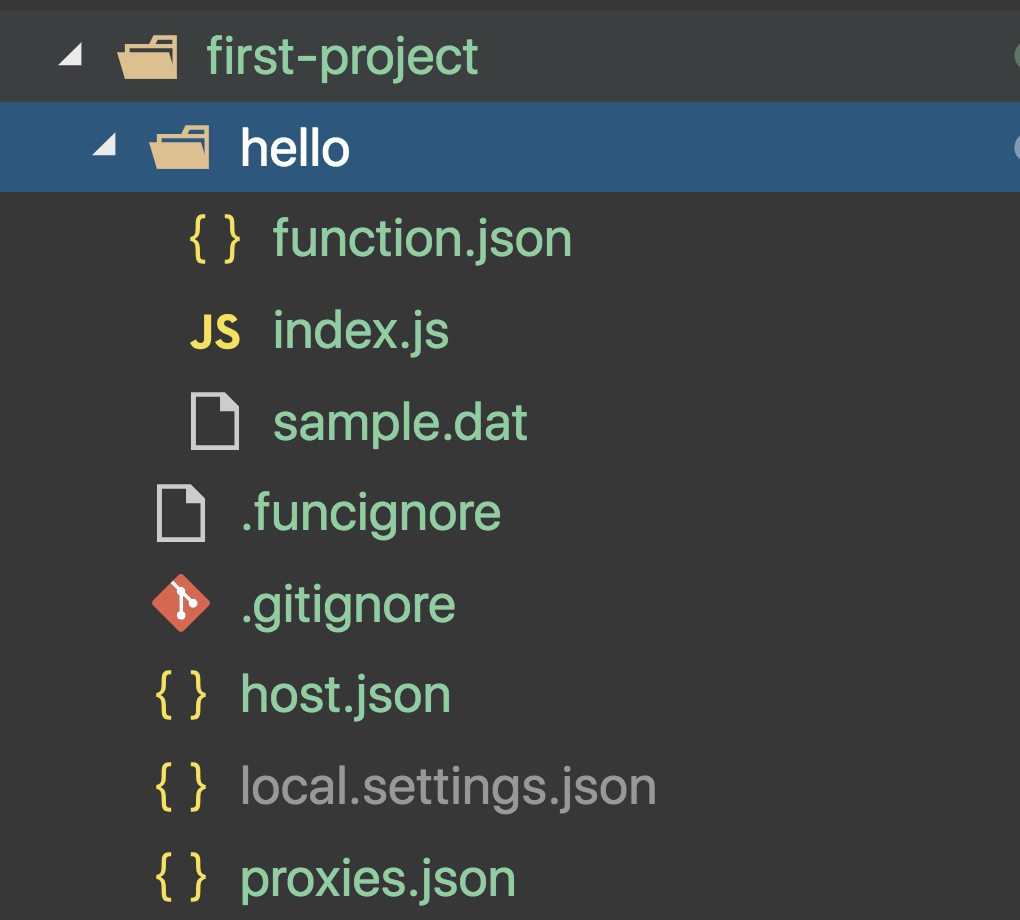
Let's talk about the files that matters for this article:
- /hello, this a directory containing our Azure function
In the hello directory there are also:
- function.json, this contains a lot of settings regarding your function like
authLevel, whattypeit is, whatmethodsit allows. It contains declarations for bothinandout. In, means what triggers the function and out means what type of response it generates. In our case it has ahttpTriggerasinandHTTPresponse as out. - index.js, this contains our Azure function and it has given us a basic implementation that we can alter to suit our needs
Running and debugging
Ok, so we've managed to create an Azure project and an Azure function, now what? Well it's time to test it of course. There are two ways we can do so:
- Start the project with a debugger
- Start the project from the terminal
Run the debugger
This is about using the built-in debugging functionality in VS Code. We will cover two things here.
- The happy path of debugging, if your project was correctly generated this is as simple as pressing a button
- If you are in the wrong place generating a project, you might have some initial struggle, however I will show how to fix even that
Debugging
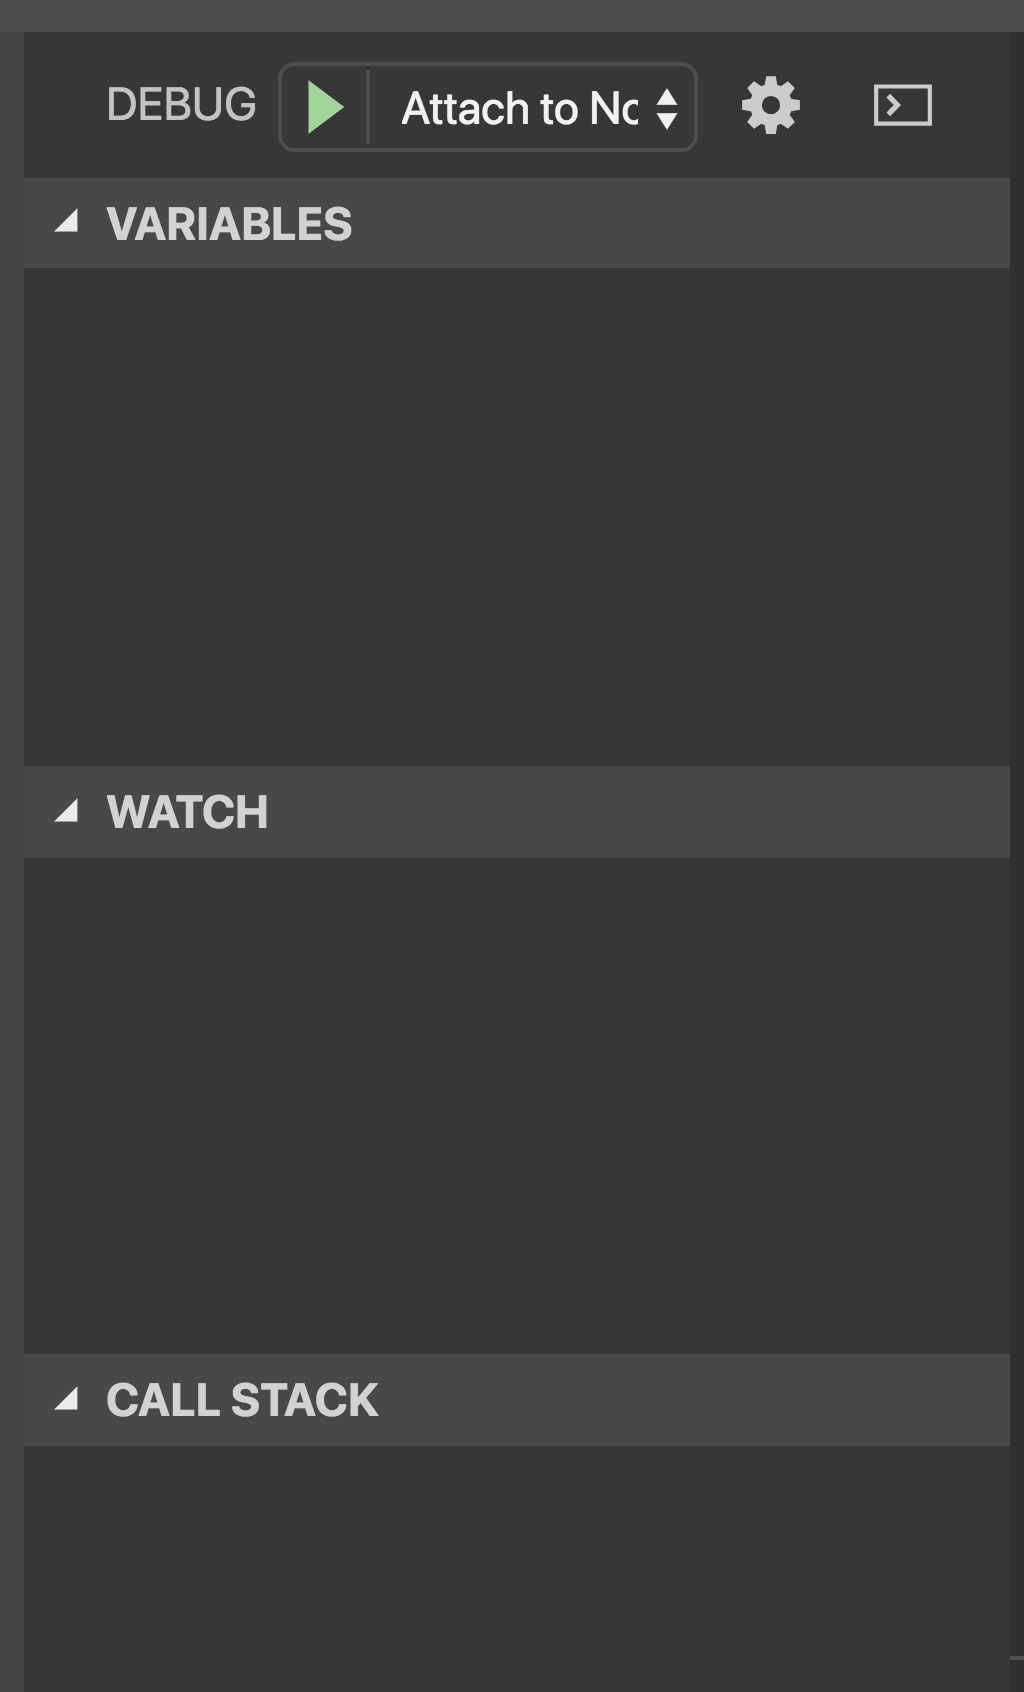
To Debug select Debug / Start debugging in the menu. This set VS Code in Debug mode and you should see this menu to the left:
In the terminal in the main are you should see the following message at the bottom:

Now set a break point at the first line in your function. Now go to the browser and navigate to http://localhost:7071/api/hello and you should see this in VS Code:
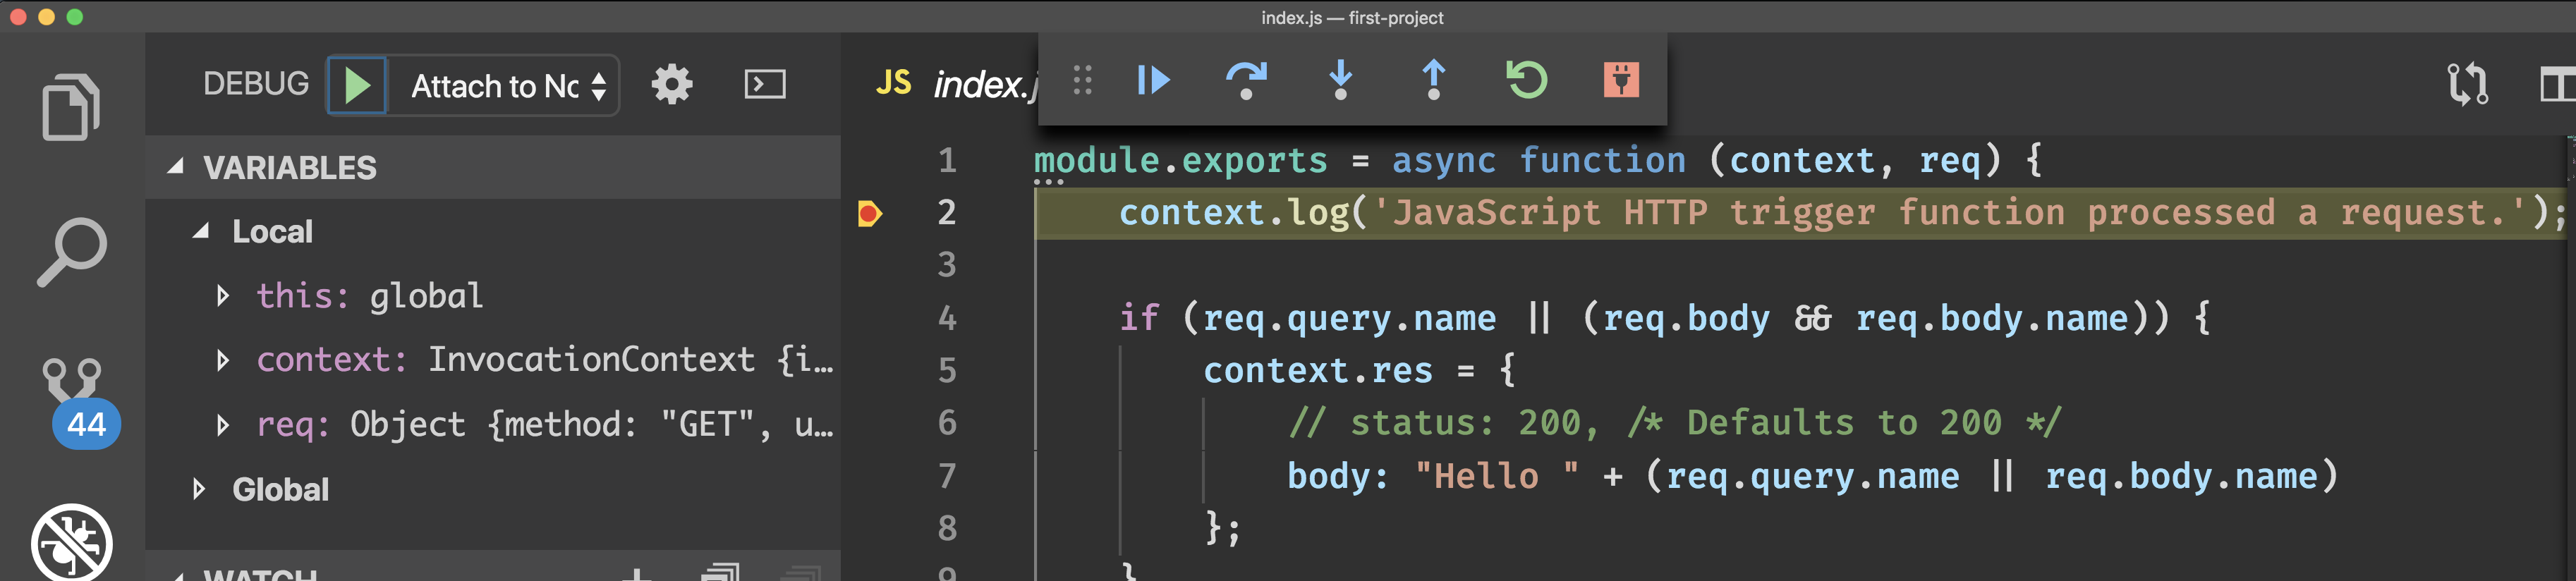
As you can see above our break point is hit and the menu to the left gives us valuable info on the stacktrace and other things.
Generate your project in the correct place
I learned something the first time I generated an Azure Functions project, using VS Code. What I learned is that it matters where I was generating the project. Why does that matter for debugging? Well it generates a .vscode directory for the workspace you are standing in, NOT the target directory of your Azure Functions project.
What can go wrong? If you open up VS Code in say directory tmp and then you select the directory tmp/project as your target dir for generating the project then your .vscode directory is generated in tmp.
If you select to Debug from tmp it WILL work, however if you forgot that you were in the directory tmp and next time you open up the project and you do so in tmp/project, it WON'T work. It won't work because tmp/project is missing the .vscode directory, that contains the files launch.json and tasks.json that is needed for the debugging to work.
There are two ways to solve this, if it happens to you:
- open VS Code in the directory that you aim to use for Azure Function Project targetDir. E.g open it up in
tmpand selecttmpas targetDir when you generate the project - Move the generated
.vscodedirectory into the project file and open uptasks.jsonand ensure that the propertycwdlooks like this"cwd": "${workspaceFolder}"
Start from terminal
To start the project make sure you are in the project root and that you have opened a terminal, View / Open view / Terminal
Type the following in the terminal:
func host start
This should tell us two things, the URL we can reach our function on and the supported HTTP Verbs.
It should give an output looking like this:
 Lets go to the suggested URL in the browser
 http://localhost:7071/api/hello
The browser should show the following:

This is actually running the code that was generated in hello/index.js. I we zoom in a bit on the code:
// excerpt from index.js

if (req.query.name || (req.body && req.body.name)) {
  context.res = {
      // status: 200, /* Defaults to 200 */
      body: "Hello " + (req.query.name || req.body.name)
  };
}
else {
  context.res = {
      status: 400,
      body: "Please pass a name on the query string or in the request body"
  };
}
We can see above that if req.query.name or req.body.name is empty it should construct a message with status 400.
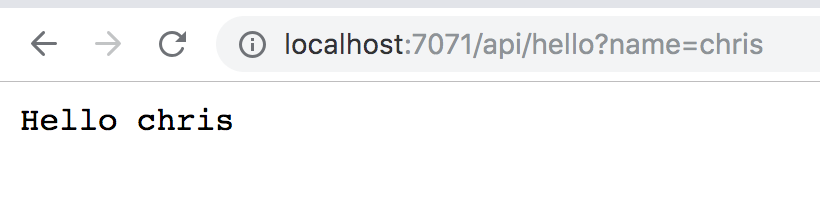
We can fix this by calling the URL with an added ?name=chris, like so:
Let's see if we can debug this way too. First off lets set a breakpoint on the first row in index.js and reload the browser next:
Summary
This concludes this first part on VS Code and Azure Functions. We've learned how to generate an Azure functions project and a function and we've also learned to navigate around in our project structure and especially learned how to debug in two different ways.
In our next part we will learn more about handling parameters and authorization and we will also build a GraphQL server and of course deploy our function to the Cloud. Sounds like fun right? :)